0 Cart
Added to Cart
    You have items in your cart
    You have 1 item in your cart
    Total
    Check Out Continue Shopping
    Blog Menu

    Secret Project Better Raw + Chocolate Fudge Recipe


    If you follow my work on either Facebook, Instagram (@betterraw) or Twitter, you are probably well aware that I'm planning something pretty big. Now I know that I haven't exactly revealed what it is yet and I'm going to keep you guessing for a bit longer, but just know that it is going to be EPIC and you are going to love it!

    I know it will be epic, because you've been requesting this, ever since the day I launched my website. I know you are going to love it, because you've been requesting this, ever since the day I launched my website. 

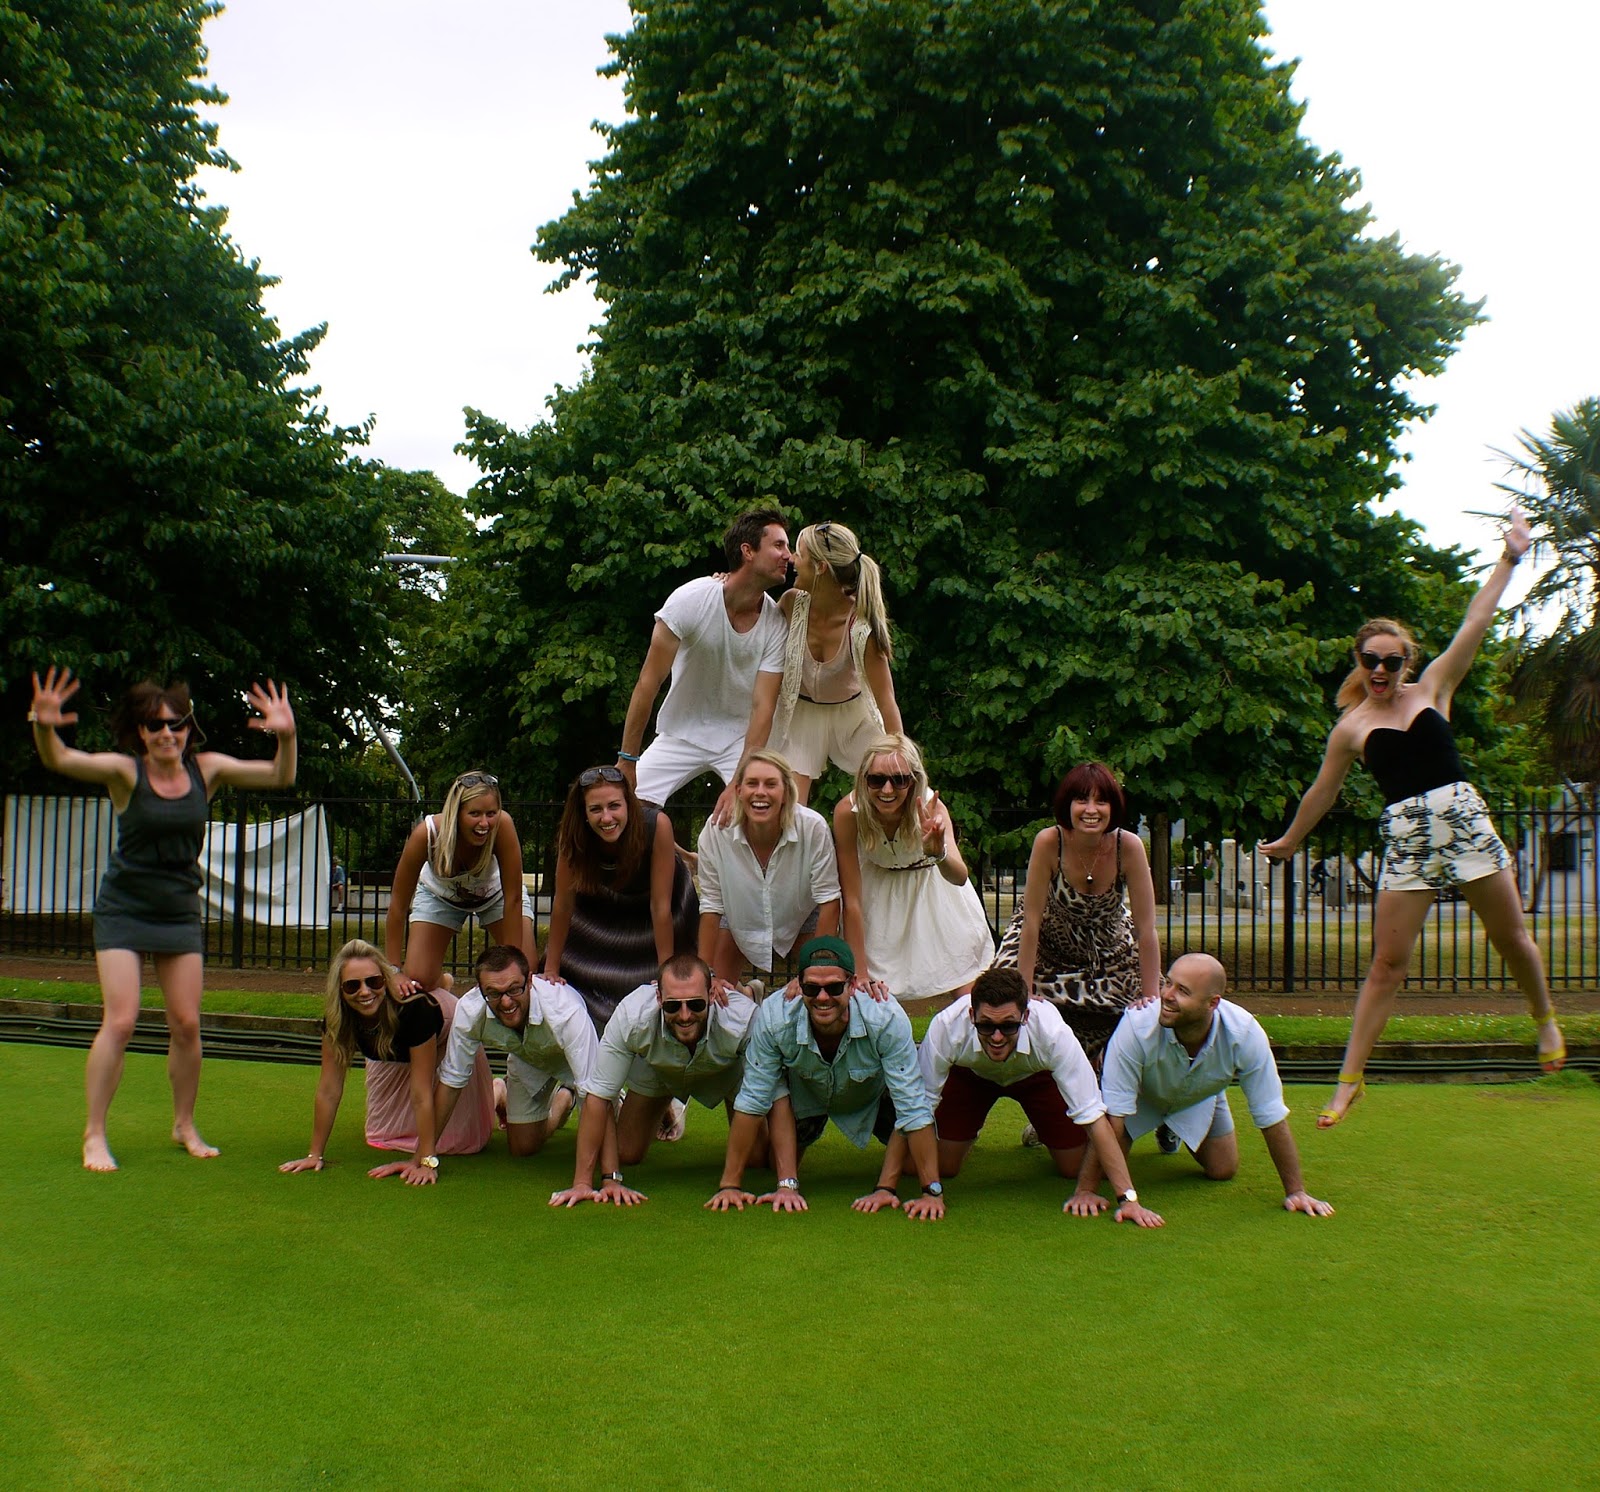
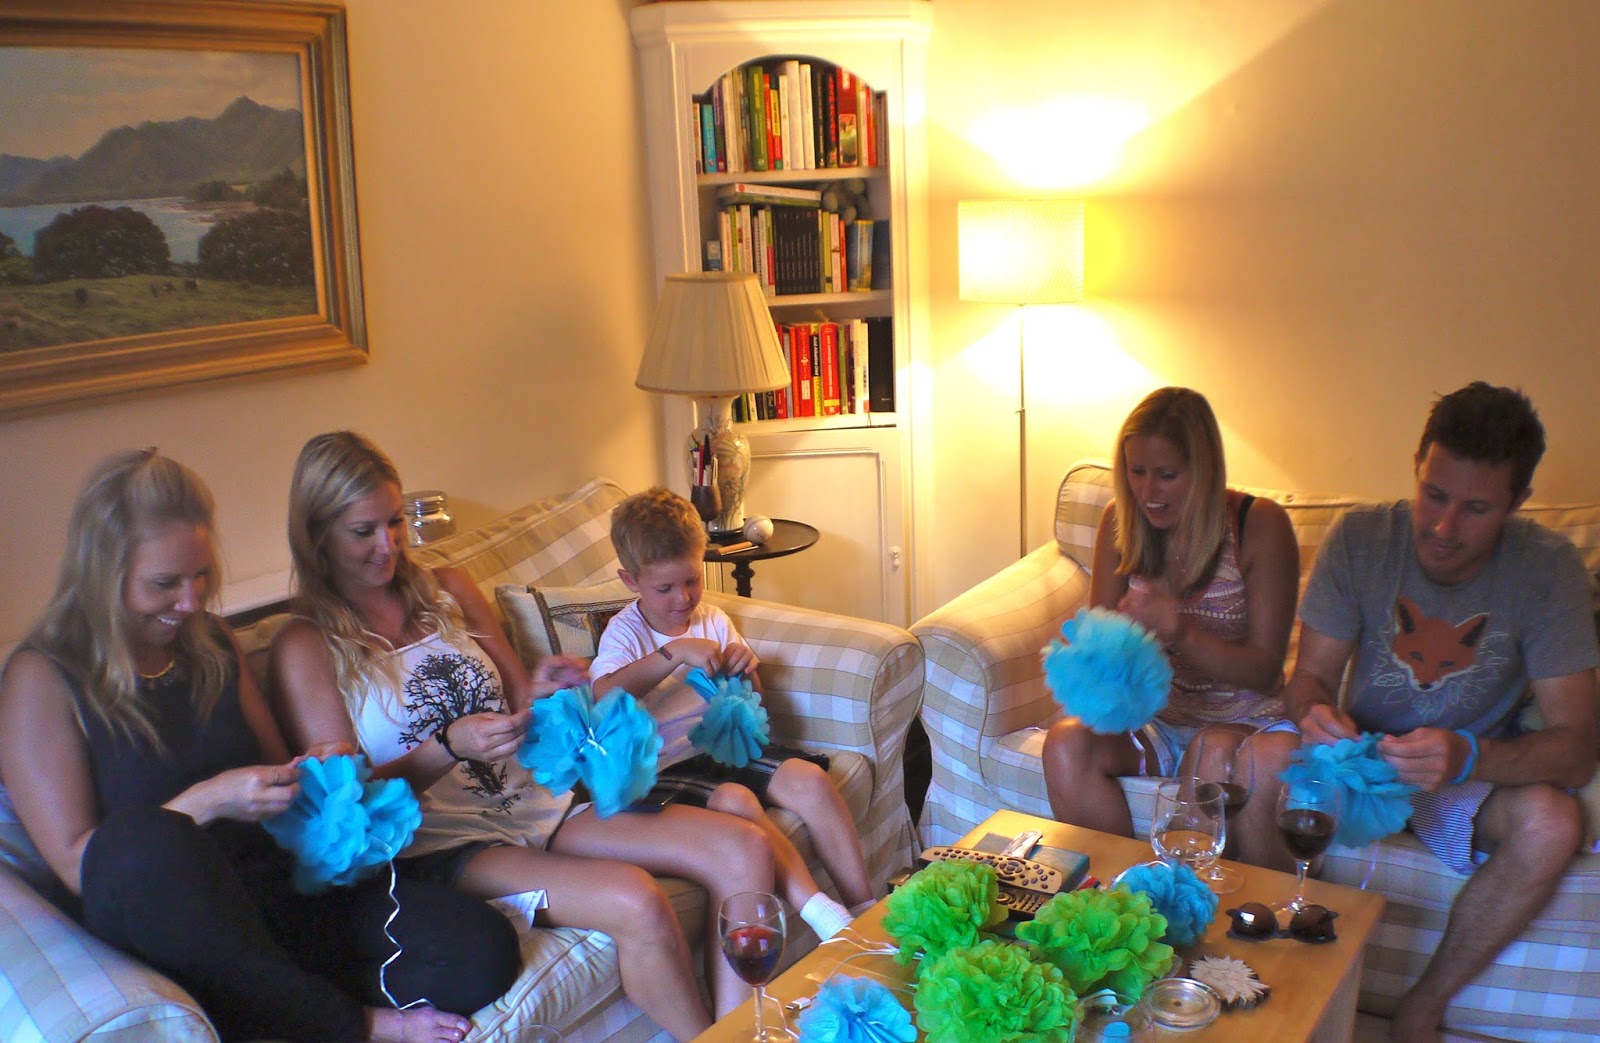
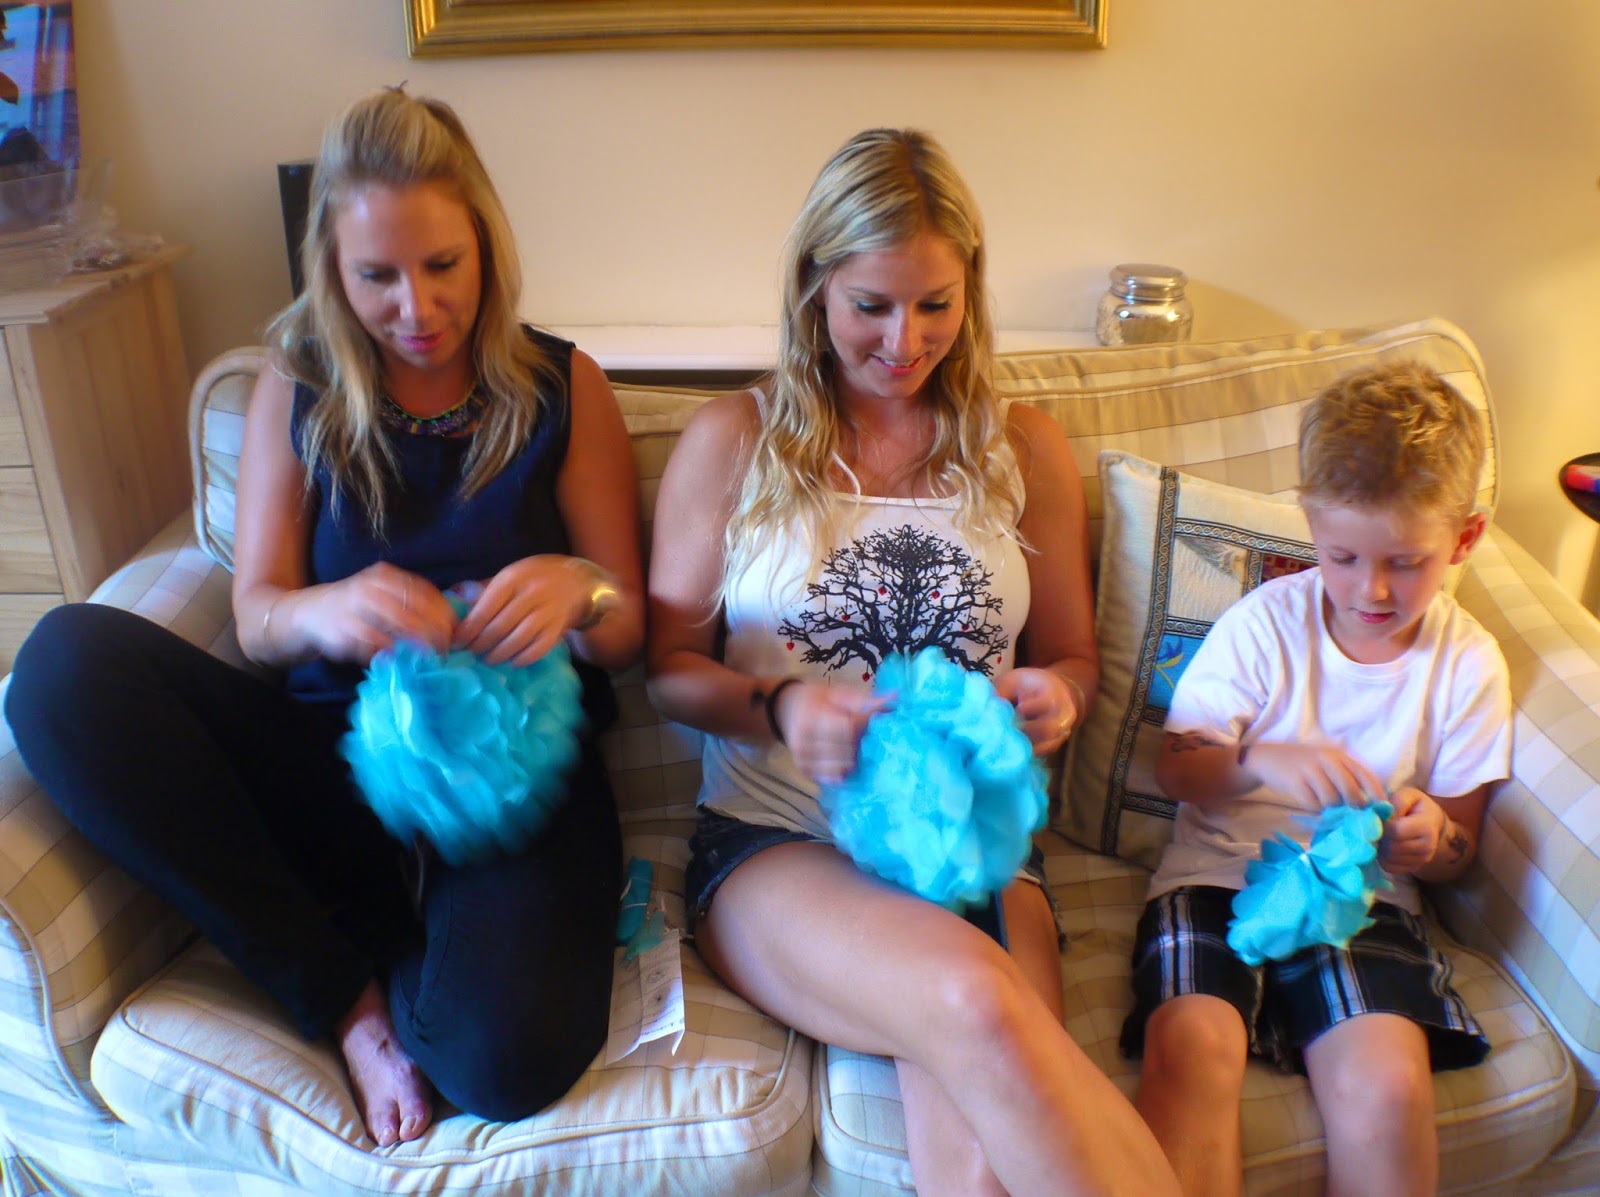
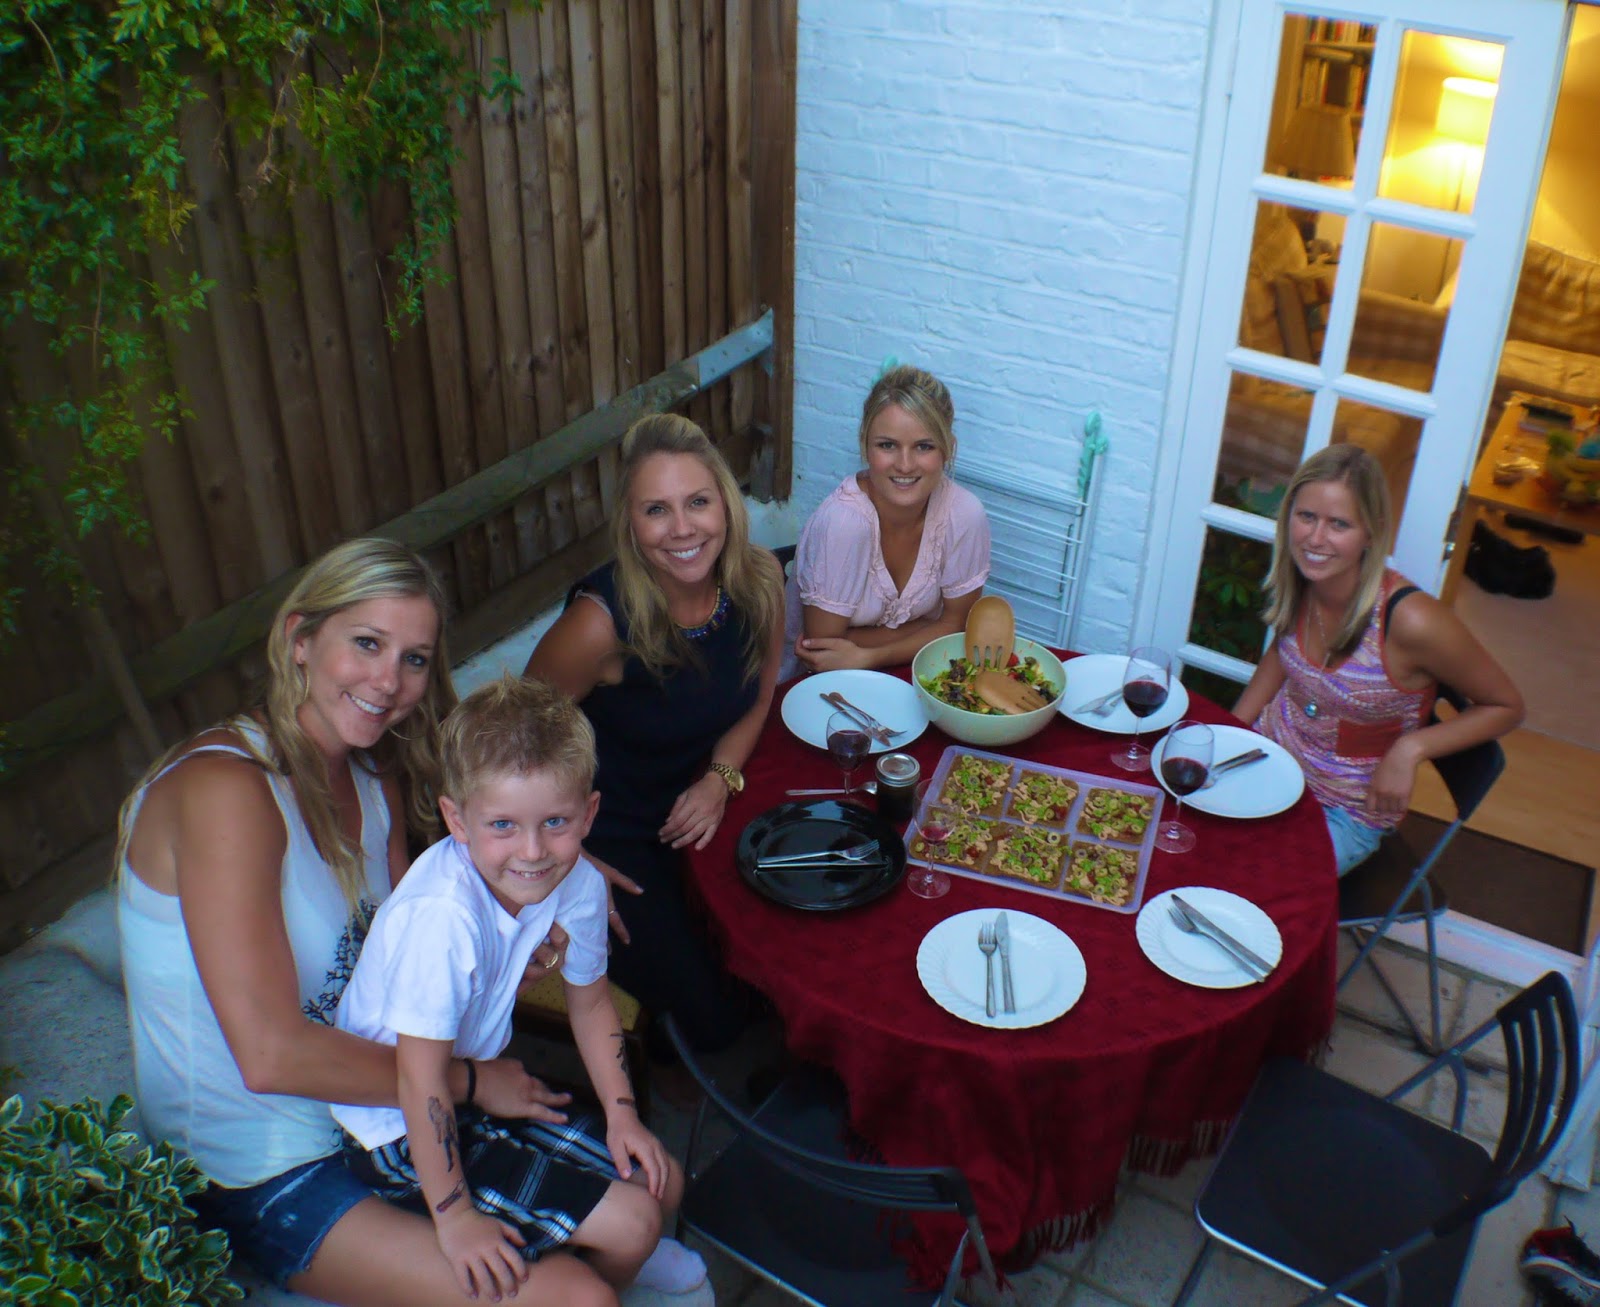
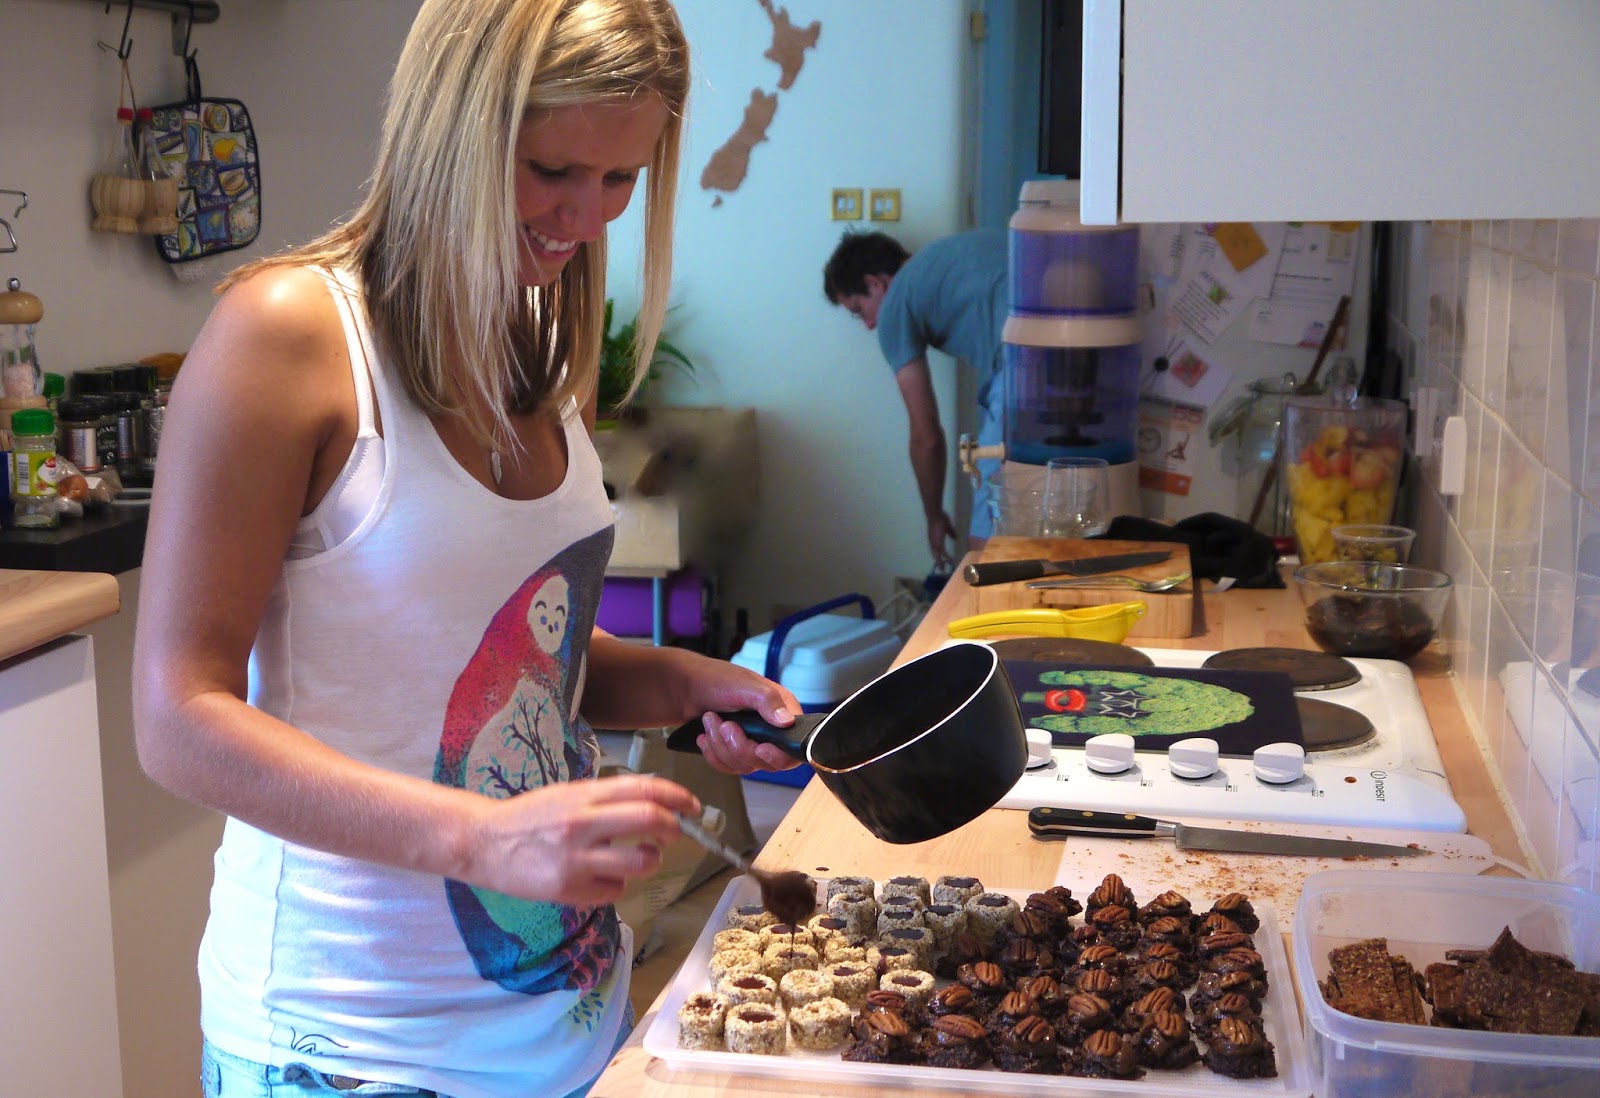
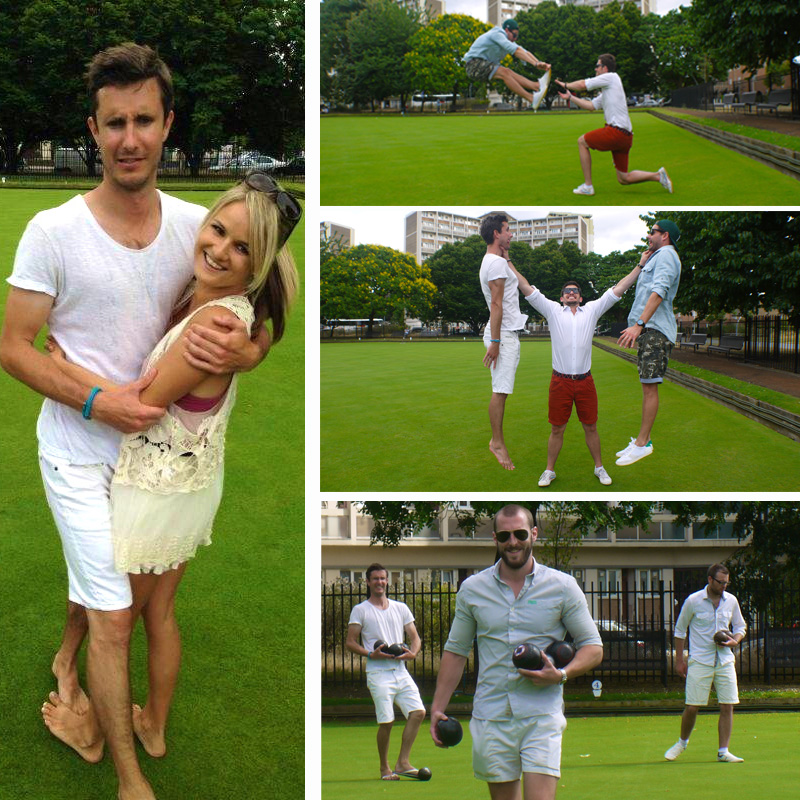
    Just to give you an idea of how 'proper' this awesome project is, check out a couple of pics from our focus groups…


    And just to show you how seriously we're taking it and how much we appreciate everyone's input, check out some of the goodies I've prepared for the focus groups…

    Keylime Pie volcanoes with Raw Chocolate lava and dehydrated lime slices.

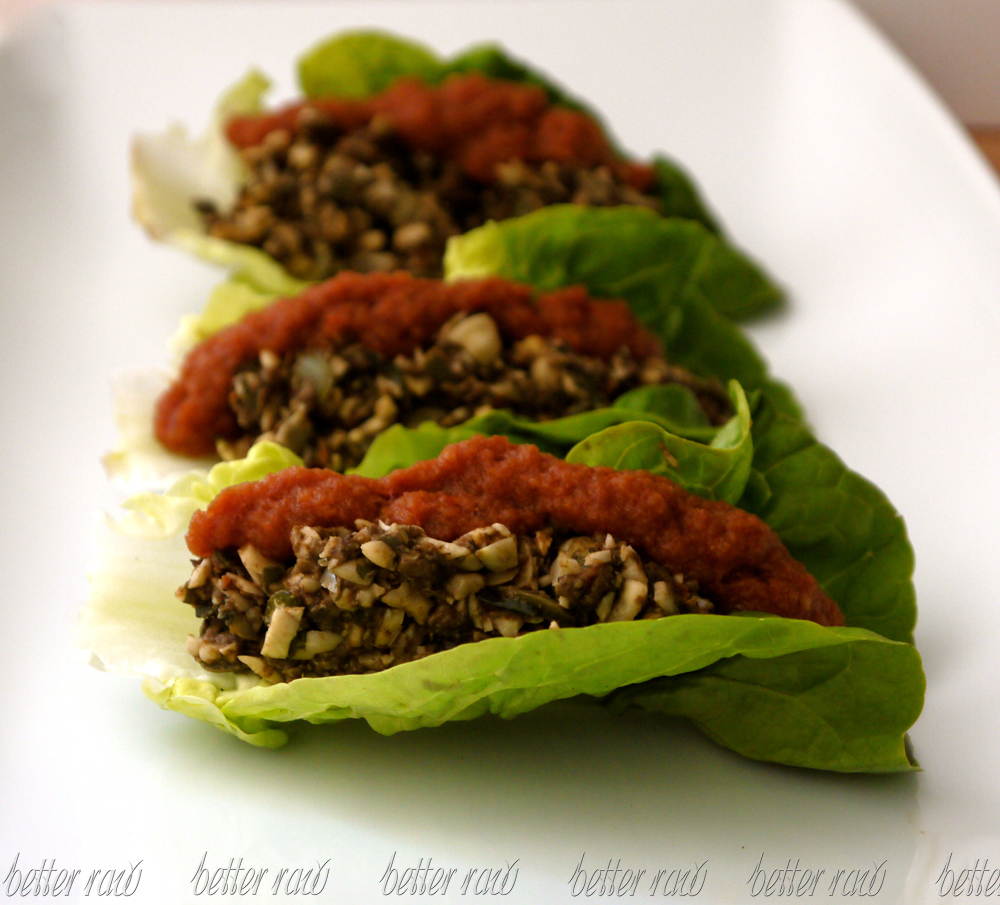
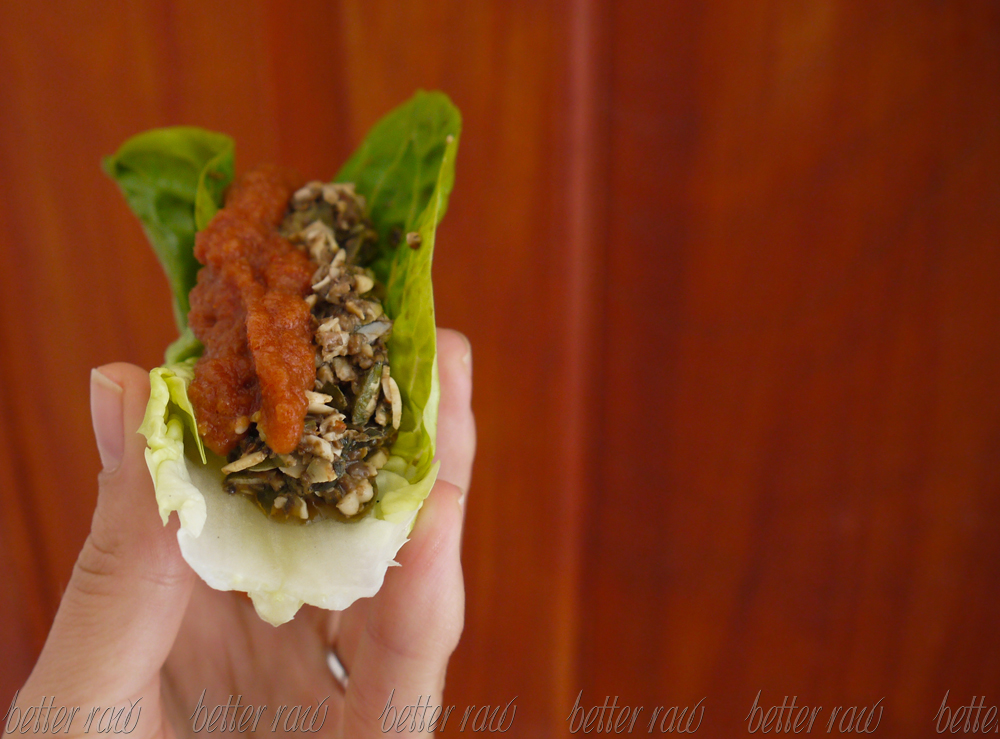
    Raw Food Five Layer Lasagna

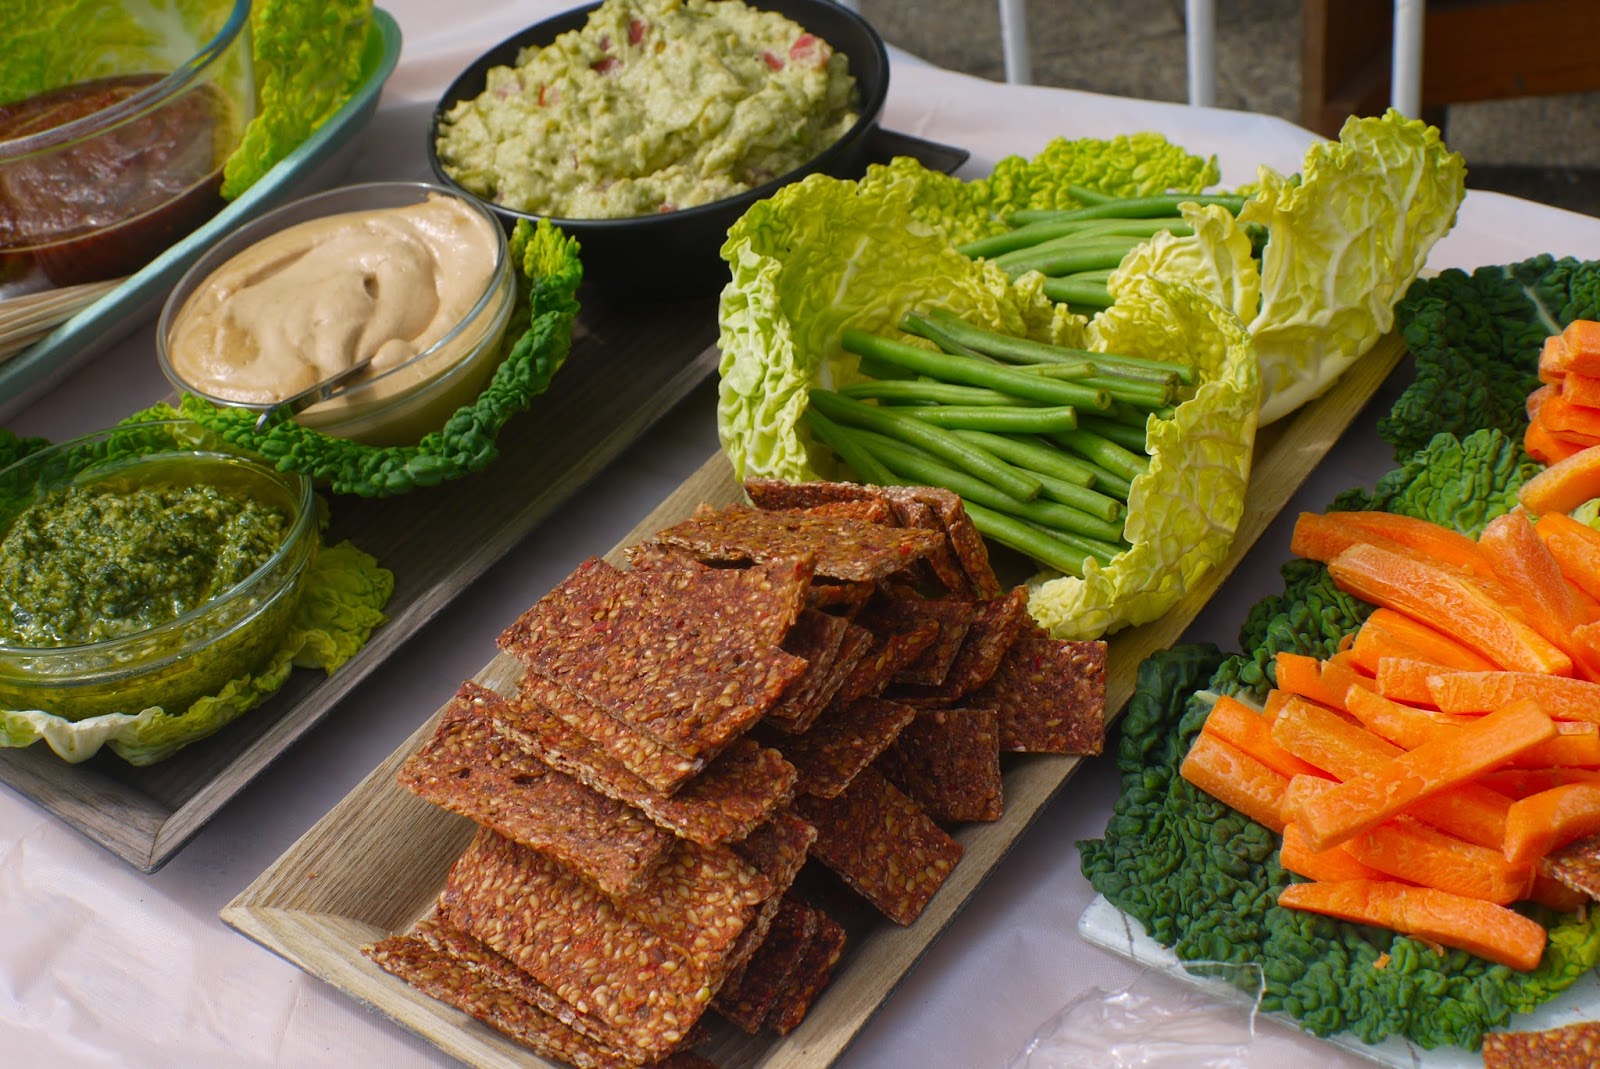
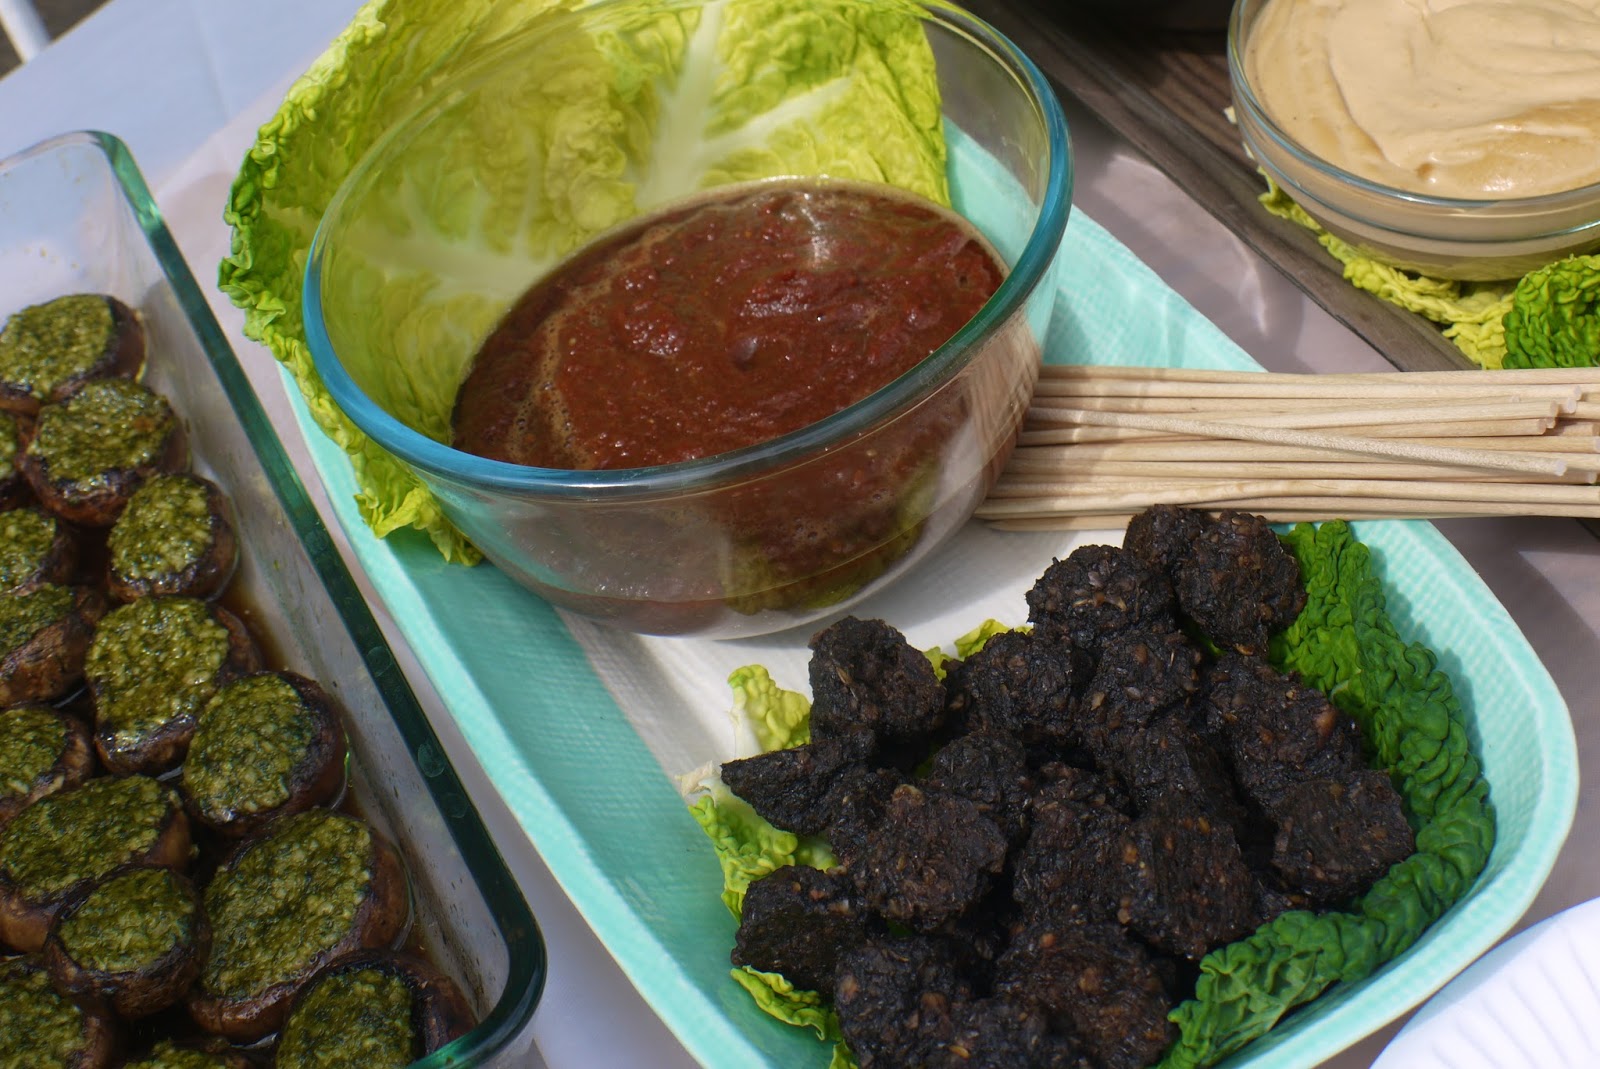
    Mushroom Jus, Caramelised Onions and Raw Food Onion Bread cubes.

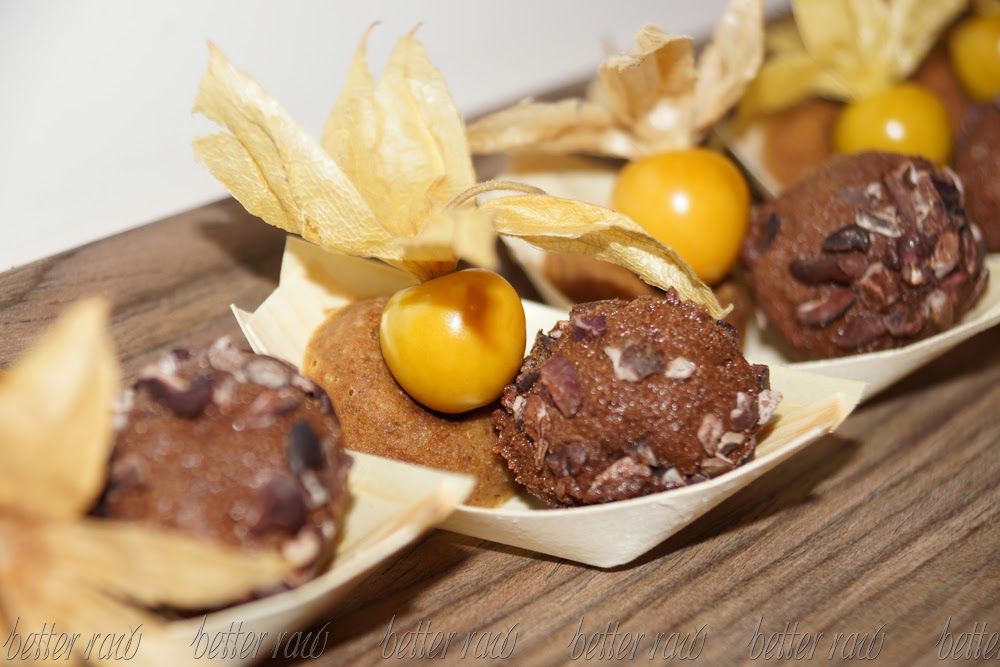
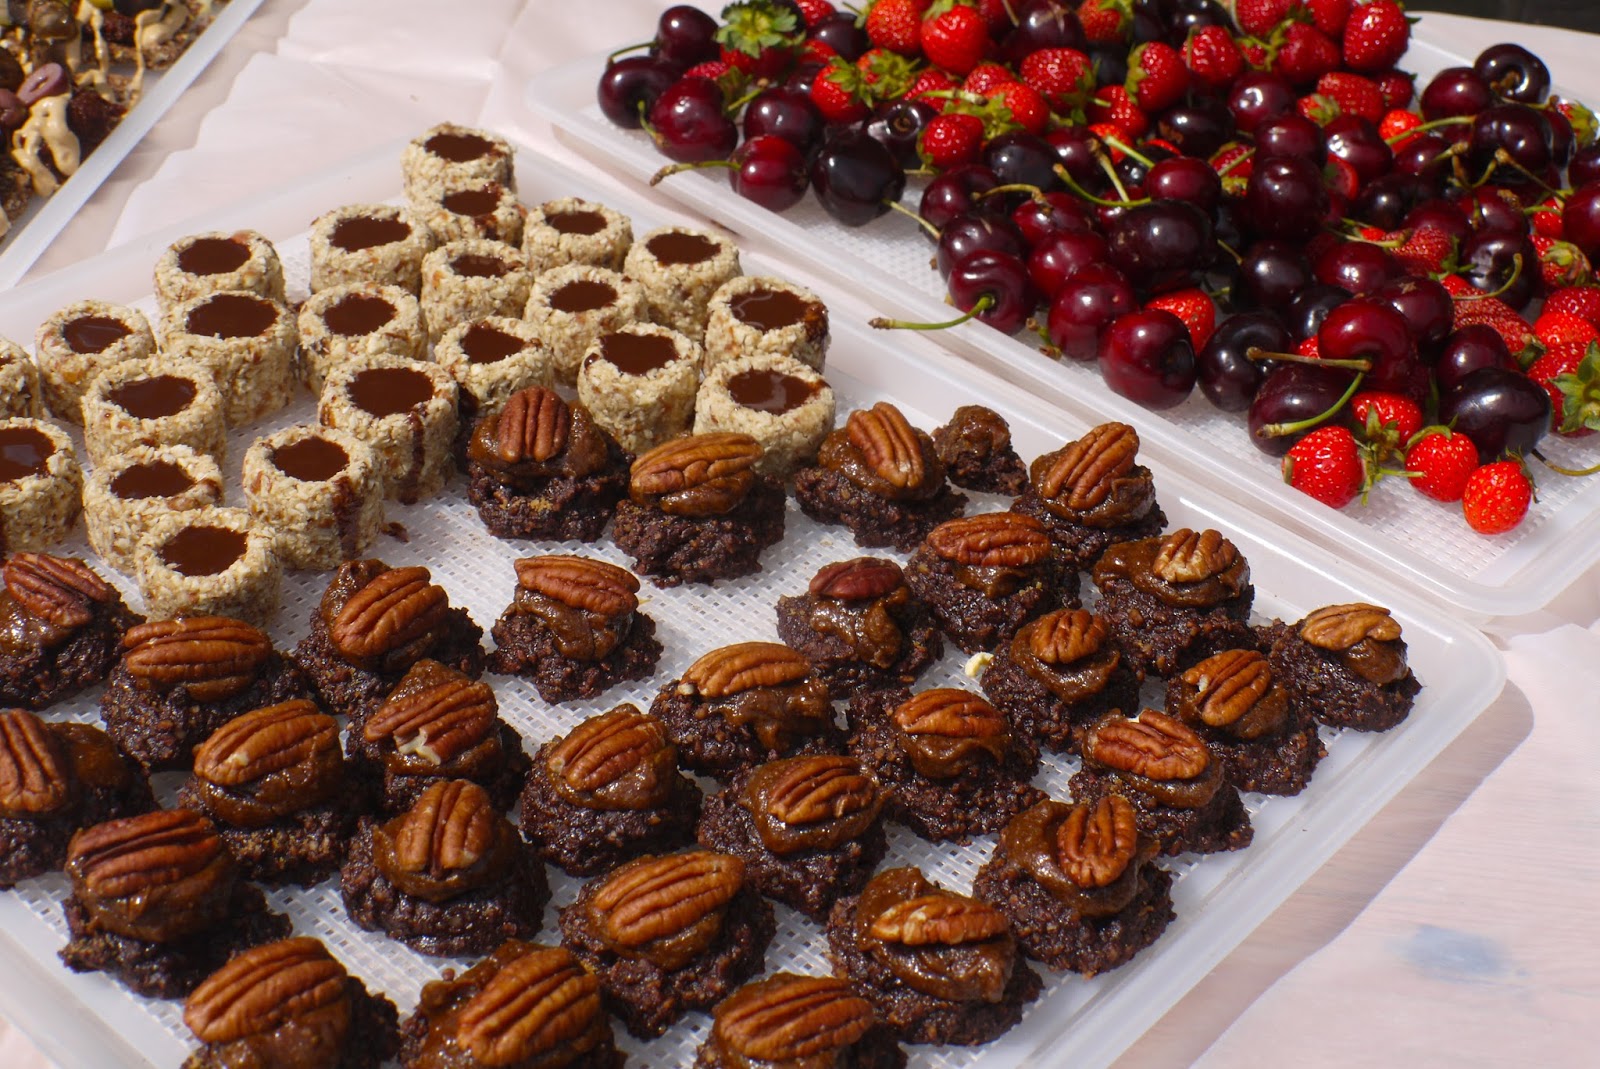
    Ginger Crunch Cookies and Chocolate Fudge Balls (see recipe below)

    If there was a single common interest my tribe and I share (and of course it's a tough choice, because there are thousands), then it has to be our appreciation for real chocolate! I already know that you'd be keen to find out the recipe for the creamy fudgie truffles above :) I love you, so here you go…


    CHOCOLATE FUDGE


    1 cup sunflower seeds, soaked 2-4 hours
    1 cup pitted dates, soaked 2-4 hours
    ½ cup cacao butter, gently melted
    1/3 cup coconut butter, gently melted
    1/3 cup cacao powder
    1 tsp cinnamon
    Pinch salt
    Cacao nibs

    -Gently melt the cacao butter first. I either grate the solid block of butter and melt in a double boiler with really warm water underneath or roughly chop the butter and place in the dehydrator for 60 minutes at 105degrees F. [To watch a video on melting the butter, go to my YouTube channel www.youtube.com/BetterRawBlog and look for the Chocolate Covered Strawberries video].

    -Put all the ingredients (apart from cacao nibs) into a blender and blend with a tamper or by pulsing, until creamy.

    -Chill the mixture in the fridge for 3 hours, then roll into truffle sized balls, coat them in cacao nibs and serve.

    Mushroom jus and a delicious raw food winter salad

    Weee! I'm feeling a little extra excited today as in exactly ONE month from now,  we will be kicking off with the very first Raw Food & Soul Adventures Retreat in The Valley of Longevity. Whilst I finalise the recipes, which I plan to teach everyone on the retreat, there is one that keeps on reappearing over and over on the list and then immediately on my plate. I think you'll love it too, take a look...

     MUSHROOM JUS (as seen in Festive)


    150gm shiitake mushrooms
    2 Tbsp liquid aminos
    2 Tbsp extra virgin olive oil
    Juice of ½ lemon
    1 Tbsp white miso paste

    -Slice the mushrooms into equal sized chunks.
    -Mix together with the rest of ingredients and leave to marinate for 1 hour.
    -Serve at room temperature or warmed in a dehydrator.


    SALAD IDEA USING MUSHROOM JUS

    Anything goes if you love the mushroom jus, the way I love it! But here is one ingredient combination that I'm finding extra satiating, especially on a chilly winter day:
    handful of cavolo nero
    2 carrots
    2 tomatoes
    1 avocado, meat only
    mushroom jus
    -Destalk and roughly chop the cavolo nero, grate the carrots, and slice the tomato and avocado to your liking.
    -Mix everything including the jus in a large bowl and serve.


    If you think this idea is fun and the recipe is delicious, wait till you see my Christmas collection of 33 gorgeous drinks, meals, sides and desserts in Festive-The Best Raw Food Christmas Recipes. They are all in this eBook, available for instant download and enjoyment after purchase, here>>

    Citrus Kale Chips Recipe


    As I type this, Elliot is prettying up his surf board and asking me for the fifth time in a row whether I've packed both of our passports and visas. If you know Elliot, you'd know that it's not his thing to worry about that stuff, while he happily leaves the organisation part to me. Needless to say, he is one excited boy about his birthday present of a surfing trip to Biarritz, France, in the morning.

    I usually make sure that we are nicely stocked for snacks when we go away, so I thought that you'd like to know about one of these scrummies which are coming on the plane with us. If they make it, that is....


    CITRUS KALE CHIPS

    1 big bunch kale, stems removed
    1/2 cup desiccated coconut
    5 medium oranges
    2 Tbsp coconut palm sugar
    1 Tbsp grapefruit powder (or 2 Tbsp baobab powder)
    1/2 tsp Himalayan salt

    Roughly chop up the kale and place it into a large bowl. Usually this recipe equates to 8 packed cups of chopped kale.
    Juice 4 oranges and transfer the juice to a high speed blender. Chop up the fifth orange and add it to the blender, peel and all.
    Transfer all remaining ingredients apart from kale, to the blender, and blend on high. Use a tamper or the pulse function.
    Pour sauce over kale and use your hands to massage it all over the greens.
    Arrange the kale over teflex sheets and dehydrate for 10-16 hours at 110 degrees F.
    Store in an airtight container or a zip-lock bag to keep them crunchy for up to 2 weeks.


    There are sooo many other Kale Chip variations! Two of my favourite recipes happen to be in my favourite eBook- 'Nourished- Comforting Raw Food Recipes For Winter'. There you'll find a recipe for Cheezy Kale Chips and Indian Curry Sauce, which I use on Kale Chips. So good. So so good. My word, I love Kale Chips!!

    How to throw a raw food party | Our engagement celebrations


    It's no secret that Elliot and I are getting married next year, but we are not done with the high of being fiancés just yet! As we got engaged in the middle the coldest winter UK has experienced since well before we were even born, it only made sense to wait for the summer to celebrate outdoors.

    THE PREPARATIONS

    We hired the lawn bowling club next door, ordered some props online, put together a canapés menu and recruited the best looking helpers in town...

    DIY decorations in the making the night before.
    The gorgeous Californian beauties and their funny mini man.
    Raw pizza and salad for the helpers.
    And the #1 prize goes to my #1 helper and bestie! Gina- you are a little cupcake of awesomeness! 


    THE FOOD

    When you are preparing raw food, it shouldn't actually take you any longer than preparing cooked food, however you must always start ahead of time to allow for the dehydration process.

    The great news about dehydrating is that you literally- pop in your trays full of food and walk away for the next 12-24 hours or so. No need to check up on anything, no need to worry about anything getting burned, and no crazy energy bills either! Have you checked out what dehydrator I use and recommend? See my entire suggested equipment list here>>

    Here's a sampling of what I made...

    Everybody's favourite- these Marinated and Pesto Stuffed Mushrooms never stick around for long, they are the best addition to any picnic and you can even serve them as a main course with a side salad.

    Dessert was surprisingly tricky to organise, as I knew it'll be sitting out in the sun, while so many raw food dishes require a fridge or a freezer. That's why I opted for Chocolate-filled Macaroons (they are usually chocolate covered and I teach the recipe in my Raw Chocolate 101 class) and Chocolate & Caramel Coated Cookies (recipe is just like these Dutch Stroopwafels, but with added cacao powder).

    Raw Food Pizza- a party must-have! The base is a classic nut-free version I always make, then goes the tomato paste, then the spreadable cheese and finished with any toppings you have in mind (or in my case- something that required minimal prep time was the winner- olives!) I also teach the making of it in my Raw Food Tastes of Italy class>>

    Dips and Dippers. ALWAYS have Dips & Dippers. For simple dippers- carrots, runner beans and celery sticks will do the trick if your dips are tasty enough, but it's always good to add some flaxseed crackers to the mix. For the Dips- I made extra Pesto while doing the stuffed mushrooms, extra Creamy Cheesy Sauce while making the pizza sauce and Guacamole.

    These mushroom nut balls and tomato ketchup are a delicious idea, possibly best kept for a more intimate dinner occasion. They take quite a long time to first soak and marinate, then process, then roll into balls and then dehydrate, but disappear in record time. Serve them with toothpicks to pin and dip or over courgette noodles if you are having them as a main meal.  


    THE PARTY

    Like any host will know- there is always something to do last minute, there is always something that gets overlooked and there is usually something that doesn't get done at all. However the great thing about it all is: nobody knows, but you!

    I mean, just look at these guys... does anyone look like they know I may have forgotten a thing or two?


    BRING ON THE WEDDING

    Our engagement do was sooooo much fun, although I reckon that was as much practice for the actual event as I will want to handle for the time being. I'm only grateful that the wedding isn't for another few months! But when the time does come, it will be the best day I am sure... 

    Just the thought of my whole family being back in New Zealand together for the first time in nearly six years, makes me emotional, but both of our families coming together for the second time since Elliot and I met, all while we have our closest friends by our side and in the same part of the world, while we say our 'I do's' -my heart may just explode. 

    Is it normal to even feel these nerves this far ahead? I will endeavour to calm them down by looking at our 'Save the Dates' and share one with you to make you smile too...


    mini raw food tacos with a lazy summer salsa


    Happy Summer Solstice!

    On this longest day of the year- the lemon juice is on tap, the tomatoes are flavoursome, the shallots are sweet, and the lettuces are crisp. That spells SALSA to me!

    What goes with salsa? What doesn't go with salsa?

    Tacos seemed like a swell idea to me, but since at this time of the year I try to spend as much time outdoors and as little in the kitchen, I went on a quest to make the quickest lazy taco, which requires the least prep time, no dehydrating time and maximum tastebud satisfaction...

    The result are these mini lazy taco bites. The 'lazy' bit sounded like the best description, because I just popped all the salsa ingredients in the blender and whizzed them into a sauce instead. Hee hee.


    Mini Raw Food Tacos and Lazy Summer Salsa


    For the raw vegan taco meat
    marinated mushrooms (see below)
    1 cup pumpkin seeds, soaked
    1 cup walnut, soaked
    1/2 cup sundried tomatoes, soaked
    1 tbsp cumin
    1 tsp mild chili powder
    1 tsp dried oregano
    1 tsp coriander
    1/3 tsp cinnamon
    1/4 tsp Himalayan salt

    For the marinated mushrooms
    2 large portabello mushrooms, peeled and thinly sliced
    2 tbsp tamari soy sauce
    1/2 lemon, juiced

    For the lazy salsa sauce
    2 medium tomatoes
    1/2 cup sundried tomatoes, soaked (keep the water)
    2 shallots
    2 tbsp agave nectar
    1 tbsp apple cider vinegar
    1/2 lemon, juiced

    For the taco shells
    small gem lettuce heads
    optional: avocado

    - First and preferably at least 4 hours before, put all the sliced mushrooms into a bowl and stir in tamari and lemon juice, then set aside to marinate. At the same time put the pumpkin seeds, walnuts and sundried tomatoes (note there that both the taco meat and the salsa require sundried tomatoes) into separate bowls, cover with pure water and leave them soaking.

    - After 4-8 hours you can transfer all the taco meat ingredients into a food processor and process until desired consistency.

    - Transfer the salsa ingredients into a blender along with some of the water which the sundried tomatoes have been soaking in, and blend to a sauce.

    - Peel the leaves off of the gem lettuce, load them with taco meat and spoon some salsa sauce over the top. It's ready to eat! The tacos are never quite complete with a little guacamole however, so for the lazy version- just pop a slice of avocado on top of the taco and dig in!